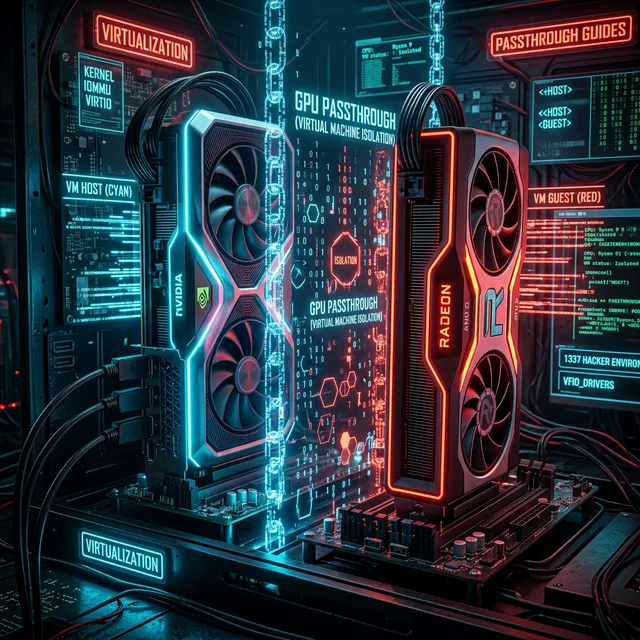
GPU PASSTHROUGH VM
INTRODUCTION
Running a virtual machine usually means sacrificing graphics performance. GPU Passthrough (VFIO) solves this by giving the VM direct access to a physical GPU, allowing for near-native performance. This is the holy grail for Linux users who need to run Windows games or Adobe software without dual-booting.
With proper configuration, you can achieve 95-99% of bare metal performance, run anti-cheat enabled games, and maintain your secure Linux host environment.
VFIO GPU Passthrough Architecture
VFIO Driver
Isolation
Direct Access
PREREQUISITES
- CPU with VT-d (Intel) or AMD-Vi (AMD) support - Check your processor specs
- Motherboard with IOMMU support - Usually any modern board supports this
- Two GPUs OR single-GPU passthrough - Dual GPU is easier for beginners
- Linux Host - Arch Linux recommended (best documentation), Ubuntu/Fedora also work
- Minimum 16GB RAM - You'll need to allocate 8GB+ to the VM
⚠️ WARNING
Incorrect BIOS modifications can brick your motherboard. Always have a backup plan and read the full guide before proceeding.
STEP-BY-STEP INSTRUCTIONS
Step 1: Enable IOMMU in BIOS/UEFI
Reboot into your BIOS (usually DEL or F2 during boot). Navigate to the Advanced or CPU Configuration section.
Look for and enable:
- Intel VT-d (Intel CPUs) or AMD-Vi / IOMMU (AMD CPUs)
- Intel Virtualization Technology / SVM Mode
- Disable CSM/Legacy Boot (use UEFI only)
IOMMU Groups Example
Step 2: Enable IOMMU in Kernel Parameters
Edit your bootloader config to enable IOMMU at the kernel level. For GRUB, edit /etc/default/grub:
GRUB_CMDLINE_LINUX_DEFAULT="quiet intel_iommu=on iommu=pt"
# For AMD CPUs:
GRUB_CMDLINE_LINUX_DEFAULT="quiet amd_iommu=on iommu=pt"
Then update GRUB and reboot:
sudo reboot
Step 3: Verify IOMMU Groups
After reboot, check your IOMMU groups to ensure devices are properly isolated:
shopt -s nullglob
for g in $(find /sys/kernel/iommu_groups/* -maxdepth 0 -type d | sort -V); do
echo "IOMMU Group ${g##*/}:"
for d in $g/devices/*; do
echo -e "\t$(lspci -nns ${d##*/})"
done;
done;
Your GPU and its audio controller should ideally be in their own IOMMU group, or at minimum in a group with no critical devices.
Step 4: Isolate the GPU with VFIO
Find your GPU's PCI IDs using lspci -nnk. Look for your GPU and
note the IDs in brackets (e.g., [10de:1b80]).
Create /etc/modprobe.d/vfio.conf:
options vfio-pci ids=10de:1b80,10de:10f0
# Load vfio-pci before graphics drivers
softdep nvidia pre: vfio-pci
softdep amdgpu pre: vfio-pci
Update initramfs and reboot:
sudo update-initramfs -u # Ubuntu/Debian
Step 5: Install Virtualization Software
sudo pacman -S qemu libvirt virt-manager ovmf
# Ubuntu/Debian
sudo apt install qemu-kvm libvirt-daemon-system virt-manager ovmf
Enable and start libvirt:
sudo usermod -aG libvirt $USER
Step 6: Create the VM in Virt-Manager
- Open Virt-Manager and click "Create a new virtual machine"
- Choose "Local install media" and select your Windows ISO
- Allocate at least 8GB RAM and 4 CPU cores
- Important: Select "Customize configuration before install"
- In Overview, set Firmware to "UEFI x86_64: /usr/share/OVMF/OVMF_CODE.fd"
- In CPUs, check "Copy host CPU configuration"
- Remove the default video adapter (Spice/QXL)
- Click "Add Hardware" → "PCI Host Device" → Select your GPU
- Add Hardware again and select the GPU's audio controller
Step 7: Optional - Looking Glass Setup
For low-latency frame relay from guest to host without a second monitor:
yay -S looking-glass # Arch AUR
# Add IVSHMEM device to VM XML
virsh edit [VM_NAME]
# Add before \u003c/devices\u003e:
\u003cshmem name='looking-glass'\u003e
\u003cmodel type='ivshmem-plain'/\u003e
\u003csize unit='M'\u003e32\u003c/size\u003e
\u003c/shmem\u003e
CONCLUSION & TROUBLESHOOTING
If successful, you now have a Windows VM that performs within 95-99% of bare metal. You can play most games with Anti-Cheat enabled and use CUDA acceleration.
Common Issues:
- Code 43 Error: Add
vendor_idto hide VM from Nvidia drivers - Black Screen: Try different OVMF firmware versions or add video=efifb:off to kernel params
- VM Won't Start: Check IOMMU groups and ensure GPU isn't in use by host
FAQ / TROUBLESHOOTING
⚠️ Detailed answers to the most common issues
❌ Code 43 error in Windows Device Manager for the passed GPU
Nvidia and AMD block drivers from loading when they detect a virtual machine. Fix it
by adding a custom <vendor_id state="on" value="1234567890ab"/> inside the VM's
<features/> section. For Nvidia you also need
<hyperv_relaxed state="on"/>, <vendor_id state="on"/>, and
hidden state="on" in the hyperv features.
❌ My GPU is grouped with the USB controller in one IOMMU group
Common on older AMD boards. You need an ACS override patch in your kernel, or use the
vfio-pci.ids= trick to bind the whole group at once. The proper long-term fix is a newer
motherboard with better IOMMU segmentation.
❌ Audio doesn't work over HDMI/DP from the passed GPU
You need to pass through both the GPU (VGA controller) and its audio
function (usually 01:00.1). Then in Windows, set the HDMI audio as the default playback device
in Sound Settings.
❌ Performance is only 80% of bare metal, not 95-99%
Check the following:
- Enable
hv_vendor_id=whateverin kernel cmdline - Use
cpu host-passthroughin VM XML (nothost-model) - Pin CPU cores to the VM with
<vcpupin>taskset - Use hugepages:
echo 1024 > /proc/sys/vm/nr_hugepages - Set the disk driver to
virtio(single-driver) and usewritebackcache
❌ Can I do single-GPU passthrough (no second GPU)?
Yes, but more complex. The host must release the GPU before VM start, and you
need a vfio-pci.ids line in the bootloader to bind it before the display driver loads. See the
Single-GPU-Passthrough guide for the full procedure.
❌ Anti-cheat detects my VM — what now?
EAC and BattlEye both support Linux/Wine/Proton passthrough officially — use Heroic / ProtonDB instead. Vanguard (Valorant) and some kernel-level anti-cheats do detect VM environments. There is no fully reliable workaround beyond the techniques above.
❌ My CPU doesn't have VT-d / AMD-Vi
GPU passthrough is not possible. The IOMMU hardware feature is mandatory. Intel consumer CPUs before Haswell (4th gen) and AMD before Ryzen don't support it. Check the CPU virtualization list.
❓ Still stuck?
→ Arch Wiki: PCI passthrough via OVMF is the canonical reference. The r/VFIO subreddit is extremely helpful.