ComfyUI - Local AI Image Generation
>> INTRODUCTION
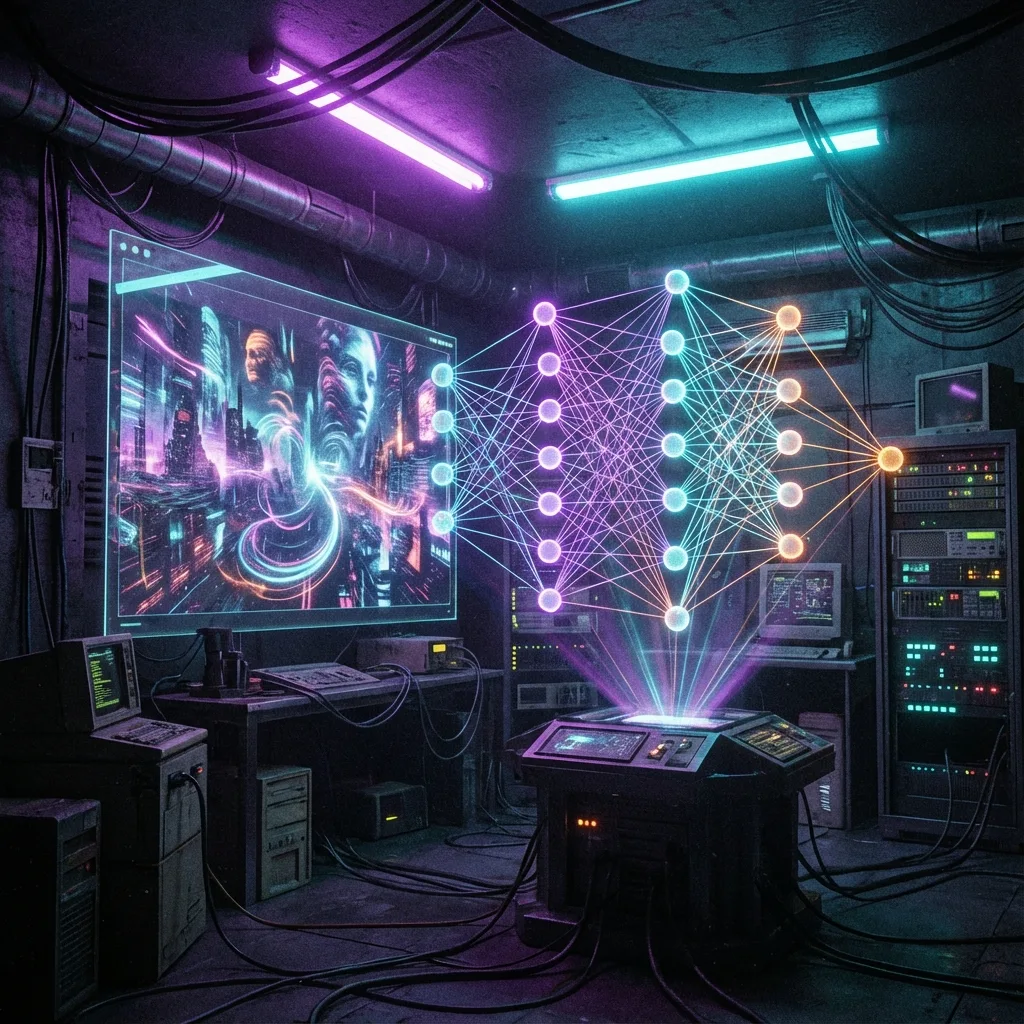
🎨 WHAT IS COMFYUI?
ComfyUI is a node-based interface for
Stable Diffusion – the most powerful local AI image generation!
Unlike cloud services like Midjourney, everything runs on your own PC –
free, uncensored and with full control over your images.
✅ BENEFITS OF COMFYUI:
- • Free – no subscriptions, no credits
- • Private – all images stay on your PC
- • No censorship – full creative freedom
- • Modular – extremely customizable through nodes
- • Fast – done in seconds with a good GPU
>> PREREQUISITES
NVIDIA GPU (RTX 20/30/40 Series)
Minimum 8GB VRAM, 12GB+ recommended for SDXL
16GB+ RAM & 50GB+ Free Storage
Models are 2-7GB each, you'll want several
Python 3.10+ & Git
Required for installation
⚠️ AMD GPU USERS:
AMD GPUs work with ROCm, but CUDA (NVIDIA) is significantly faster and more stable. For AI workloads, NVIDIA is the better choice!
>> INSTALLATION
Download ComfyUI
Download the portable version (easiest method):
- Go to github.com/comfyanonymous/ComfyUI/releases
- Download
ComfyUI_windows_portable_nvidia.7z - Extract to a location of your choice (e.g.
D:\ComfyUI\)
Download Checkpoint Model
The "brain" of image generation – a Stable Diffusion model:
🎨 RECOMMENDED MODELS:
- Juggernaut XL – Photorealistic, the all-rounder
- DreamShaper XL – Anime/Fantasy Style
- RealVisXL – Ultra-realistic
ComfyUI\models\checkpoints\
Start ComfyUI
- Double-click
run_nvidia_gpu.bat - Wait until "Starting server" appears (30-60 seconds)
- A browser tab opens automatically:
http://127.0.0.1:8188
You now see the ComfyUI interface with nodes!
Generate Your First Image
- Load the Default Workflow (already loaded at start)
- Click on the "Load Checkpoint" node
- Select your downloaded model
- Edit the text in the "CLIP Text Encode (Positive)" node
- Click Queue Prompt
📝 EXAMPLE PROMPT:
a futuristic cyberpunk cityscape at night, neon lights, rain reflections, cinematic lighting, masterpiece, 8k, photorealistic
>> IMPORTANT TIPS
🚀 SAVE VRAM:
Add --lowvram to run_nvidia_gpu.bat if you only have 8GB VRAM.
📦 COMFYUI MANAGER:
Install the ComfyUI Manager for easy installation of custom nodes!
🎯 WORKFLOW SHARING:
Find ready-made workflows on OpenArt.ai or CivitAI!
>> RESOURCES
>> CONCLUSION
ComfyUI is the most powerful tool for local AI image generation. With a bit of practice, you'll generate images that rival Midjourney & Co. – completely free and private!
Have fun creating! 🎨
>> FAQ / TROUBLESHOOTING
❓ "CUDA out of memory" — what now?
Lower the resolution, use a smaller model (SD 1.5 instead of SDXL), enable
--lowvram in the launch args, or close other GPU-heavy apps. As a last resort, use
--cpu (very slow but always works).
❓ Which model should I download first?
For absolute beginners: Realistic Vision v5.1 or Dreamshaper 8 for SD 1.5. For higher quality and you have 12GB+ VRAM: Juggernaut XL v9 or RealVisXL v4 for SDXL. Civitai.com has the biggest collection with previews and ratings.
❓ Portable vs Git install — which?
Portable (Desktop version): zero install, just unzip and run. Best for trying out
ComfyUI. Git install: gets you the latest features, easy updates via
git pull, best for daily use. The tutorial covers both — pick based on your comfort
level.
❓ Images look distorted / bad anatomy
Negative prompts help: add ugly, deformed, bad anatomy, blurry, low quality. Increase
steps to 25-30, set CFG to 7. Use a higher quality model or add a refiner model for SDXL. LoRAs
can help with specific style/anatomy issues.
❓ Can I run this on Apple Silicon?
Yes, ComfyUI has native Metal support for M1/M2/M3 Macs. Performance is competitive with mid-range
NVIDIA cards for SD 1.5. SDXL works on 16GB+ unified memory. Make sure to use the
--use-pytorch-cross-attention or MPS backend.
❓ Is ComfyUI really free? Any hidden costs?
Yes, 100% free. ComfyUI is GPL-3 licensed, models from Civitai are mostly free (some are "Early Access" requiring a paid Patreon — skip those). Your only cost is electricity for your GPU. Models can be 2-7GB each — invest in a fast SSD.