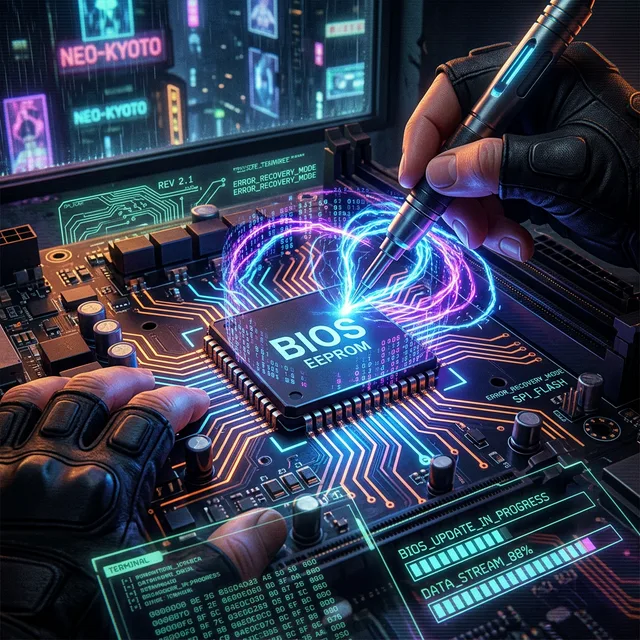
CUSTOM BIOS FLASHING
⚠️ BRICK RISK WARNING
Flashing incorrect BIOS can permanently damage your motherboard. Always have a backup BIOS chip or dual-BIOS motherboard.
INTRODUCTION
Most motherboards ship with locked or limited BIOS/UEFI options. Custom BIOS mods unlock advanced settings like undervolting limits, memory timing controls, and hidden menus not available to average users.
PREREQUISITES
- CH341A Programmer - $5-10 on AliExpress for external flashing
- SOIC8 Clip - To connect to BIOS chip without desoldering
- UEFITool - For extracting and modifying UEFI modules
- HxD Hex Editor - For binary modifications
BIOS/UEFI Menu Structure
STEP-BY-STEP GUIDE
Step 1: Download Stock BIOS
Get your motherboard's official BIOS from the manufacturer's website. This is your backup and base for modifications.
Step 2: Extract the BIOS Image
File → Open → Select your BIOS file
# Extract the Setup module
Search for "Setup" → Right-click → Extract Body
Save as setup_original.bin
Step 3: Modify BIOS Settings
Use IFR Extractor to list all available options:
Find hidden variables (e.g., CFG Lock, Overclocking Lock) and note
their offsets.
Edit with HxD to change values from 01 (Enabled/Locked) to 00
(Disabled/Unlocked).
Step 4: Rebuild BIOS Image
Use UEFITool to replace the original Setup module with your modified one, then save the new complete BIOS image.
Step 5: Flash via CH341A (Safest Method)
- Power off PC completely and unplug PSU
- Locate the BIOS chip on motherboard (usually 8-pin SOIC near 24-pin power)
- Attach SOIC8 clip to chip, connect to CH341A programmer
- Use AsProgrammer software to read current BIOS (verify byte-for-byte match with stock)
- Write your modified BIOS
- Verify write was successful
- Remove clip and power on
COMMON MODIFICATIONS
- CFG Lock Disable: Allows undervolting on Intel CPUs
- Advanced Memory Timings: Access to sub-timings for extreme overclocking
- Custom Boot Logos: Replace OEM logo with custom image
- TDP/PL Limits: Remove power limit restrictions
⏪ ROLLBACK & EMERGENCY RECOVERY
🚨 IF SOMETHING GOES WRONG
A bad flash can brick the board (no POST, no display, no boot). Below is the recovery procedure in order of severity.
Scenario 1: PC boots but BIOS is unstable
- Enter BIOS, load "Optimized Defaults" or your saved profile.
- If a Dual-BIOS switch exists, flip to the backup chip and re-flash the primary from stock.
- Reset CMOS by removing the CR2032 battery for 30 seconds (PSU unplugged).
Scenario 2: PC does not POST (black screen)
- Power off PSU. Wait 30 seconds.
- Try the Dual-BIOS switch if your board has one — most ASUS/MSI/Gigabyte boards since 2018 do.
- If no Dual-BIOS: re-attach the SOIC8 clip and re-flash the saved stock BIOS via CH341A.
Scenario 3: BIOS chip is corrupted beyond recovery
- Desolder the chip and flash on a hot-air station, or
- Buy a pre-flashed replacement chip (search "BIOS chip [your board model]").
- Last resort: RMA the motherboard if still under warranty.
PRE-FLIGHT CHECKLIST (print this)
- [ ] Stock BIOS file saved with checksum verified
- [ ] Modified BIOS file saved as separate copy
- [ ] CH341A read of current chip matches stock 100% (byte-for-byte)
- [ ] PSU unplugged before touching the chip
- [ ] Anti-static wrist strap worn
- [ ] Recovery plan printed / saved offline
FAQ / TROUBLESHOOTING
⚠️ Common questions before you start
❌ Will flashing void my warranty?
Yes, in most jurisdictions. Breaking the factory seal on the chip or modifying UEFI settings is grounds for warranty refusal. RMA returns are routinely inspected.
❌ My board has Dual-BIOS — am I safe?
Much safer, but not bulletproof. If you flash a corrupted image to both chips (some boards do this by accident), recovery becomes harder. Always keep a known-good backup of the secondary chip.
❌ AsProgrammer shows a different chip ID than expected
Check the BIOS chip marking against your board's service manual. Some Winbond/Macronix chips share footprints but need different protocols. Wrong protocol = read errors or bricked writes.
❌ CH341A read shows different bytes each time
Bad clip contact. Re-seat the SOIC8 clip, ensure pin 1 alignment, and try a slower SPI clock. Clean the chip with isopropanol if there's residue.
❌ Can I flash from inside Windows instead of CH341A?
Yes, via the BIOS flashback USB port (ASUS) / Q-Flash Plus (Gigabyte) / MSI Center — but only for official BIOS files, not modded ones. For modded BIOS, the external programmer is the only safe path.
❌ The modded BIOS boots but Windows won't start
Secure Boot or TPM settings changed. Enter BIOS, disable Secure Boot, and reset TPM to default. Windows may need one repair boot from installation media.
❓ Still stuck?
→ Try the win-raid forum for your specific board, or the overclock.net motherboard subforum.